Image
X
Action Panel
Select "Add Customer" from the menu.
Type customer name and click add.
Select "Manage Current Customers"
Select an active customer from the list on the left.
Follow onscreen UI in the "Selected Customer" box to edit data.
All works including but not limited to this documentation, source code, UI Design, Layout, and data implementation are copyrighted by the source code author ACatThatPrograms.
This does not include data returned from API communications that are not owned by the author.
This does not include company logos used for demonstration as they are held copyright to their respective owners.
This code has been written as a demonstration of skill and is not to be used within production or development by any person other than the author.
Please view README.MD for full license.
Frameworks and Core Code Information
This interface has been developed utilizing HTML5, CSS3, and JavaScript including the utilization of the following JS Frameworks:
Jquery3.3.1, JqueryUI 1.12.1 and the corresponding CSS for JqueryUI.
Most modern operating systems that will run the following modern browsers:
| Browser | Supported | Not Supported |
| Google Chrome 64.0.3282.186 |
X* | |
| Mozilla Firefox 59.0.1 |
X | |
| Edge 41.16299.248.0 |
X | |
| Internet Explorer | X |
*Testing remotely to the API in Chrome 65+ will need CORS disabled with the following flags:
--disable-web-security --user-data-dir
Alternatively the API Server can set-up CORS "Access-Control-Allow-Origin","*" Headers or supply their own for security.
This UI was built for static non-dynamic displays. It will flow between the supported resolutions dynamically, though should not be forced onto display smaller than the minimum of 1152 x 864*.
| 800x600 | 1024 x 768 | 1152 x 864 | 1280 x 1024 | 1600 x 1200 |
| X | X | X |
*Smaller resolution screens will scroll across the ui and function, but will deteriorate the end user experience.
This customer management UI has been built with ease of use for the user in mind. The following instructions below should get you started and familiar with the operation of this program.
If further help is needed please consult the rest of the documentation.
Select "Add Customer" from the menu.
Type customer name and click add.
Select "Manage Current Customers"
Select an active customer from the list on the left.
Follow onscreen UI in the "Selected Customer" box to edit data.
The user interface consists of the five major items.
Used for switching active Action Panel
"Add New Customer" will switch to the "Add Customer" action panel.
"Manage Current Customer" will switch to the "Customer Management" action panel.
"Help" will load this documentation.
Used for corresponding menu actions
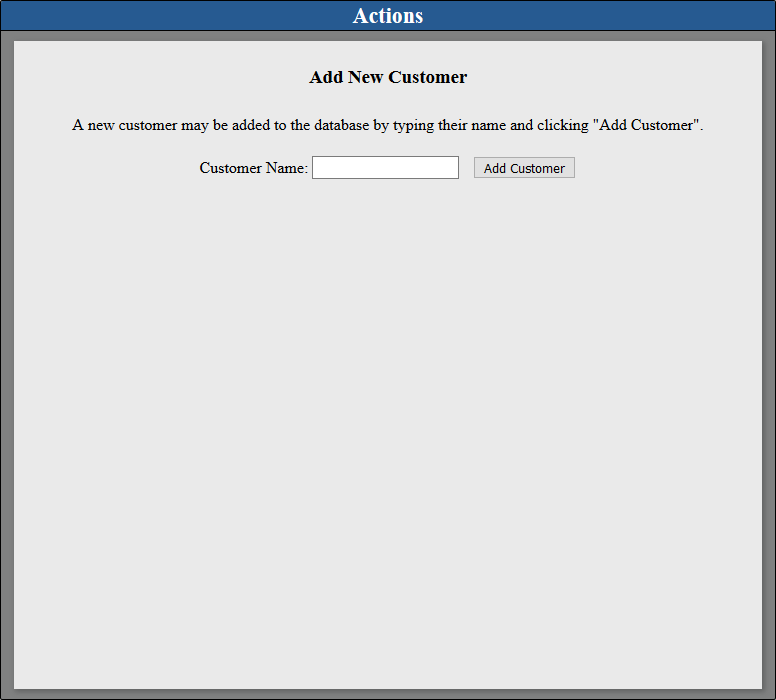
Within this panel you will be able to add new customers.
Within this panel you will be able to select existing customers to edit them and their corresponding orders.
Within this panel you will be able to see existing customer information as well as create new orders and edit existing ones.
This popup will allow you to edit the selected order's order items by adding or removing them.
This box also allows access to the item list box for selecting item IDs.
This box is used to fetch the itemIDs for the corresponding items you wish to add.
1. Click "Add New Customer" at the top right of the screen.
2. Type new customer name in the 'Customer Name' field and then click Add Customer.
3. The new customer will now be available in the customer list by switching to the 'Manage Current Customers' action panel in the top right.
If you just added a customer, you will need to generate a new order for them with the 'Add Order' button.
1. Load the 'Manage Current Customers' action panel at the top right of the screen.
2. Select a customer in in the left "Manage Customers" panel. This will load the customer into the "Selected Customer" panel for editing.
*Keep in mind the customer list is categorized alphabetically.
3. When selected, the customer's most recent order, if any, will load.
4. If no order exists, you will be informed of the absence of orders.
To add a new order click the 'New Order' button.
*You will not be able to create a new order if a current open order exists.
5. If multiple orders exist, these orders can be selected using the Order List selector in the 'Selected Customer' panel to view old canceled or closed orders.
After selecting an order you can close or cancel the order by pressing the close or cancel order buttons below the Order Items list on the 'Selected Customer' panel.
After loading a customer and an order you can click the edit order button located on th 'Selected Customer' panel to edit the currently selected order.
In the 'Edit Order Items' box you will need to enter the quantity of the item you want to add and fetch the itemID from the Item List by clicking the 'View Item List' button.
The item list loaded with the 'View Item List' button will allow you to click any of the available items which will load the itemID into the 'Edit Order Items' box for adding or removing.*
*You are not allowed to manually edit itemIDs, they are populated by the available items.